


Google Chrome extensions are programs that can be installed into Chrome in order to change the browser's functionality. This includes adding new features to Chrome or modifying the existing behavior of the program itself to make it more convenient for the user. You can look for the available Google Chrome extensions on the Chrome Web Store.
If you have a basic understanding of HTML, CSS, and JavaScript, even you can create a basic Chrome extension of your own. Here is one that I created.
It is a simple Portfolio Launcher inspired by Brad Traversy's Media Launcher. And below is the set of files I needed to create one.
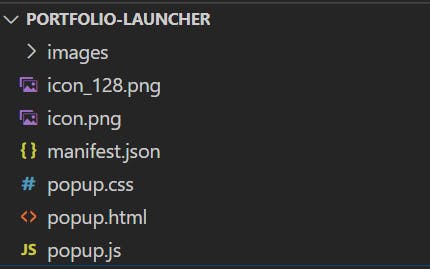
Let's have a look.
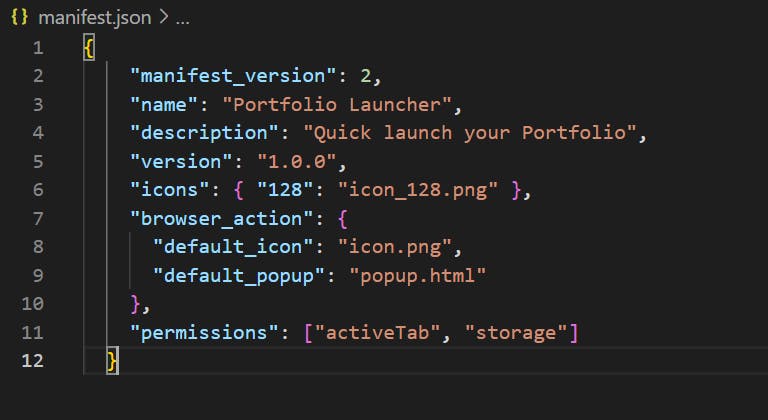
- manifest.json
In this file, you need to define a few properties as mentioned below. Most of them are self-explanatory. manifest_version is the version of the manifest which Google chrome wants. At the time of writing, Google Chrome is planning to come out with v3 of the manifest_version. The default popup is the popup that opens up with the click of the extension from your browser. Here, you specify the markup for your extension. The permissions property is actually an array where you specify the permissions your extensions would need in order to work. My extension needed just two - activeTab and the storage. For a complete list of available permissions in v2 which you might need to build your extension, click here.
Now a bit about the extension itself. So the extension provides you with the option to customize and save your website, LinkedIn, Facebook, Twitter, and Github links as a handy set of bookmarks. For a quick demo, please see this video I put on Youtube.
storage is important permission for my extension and here is a thing about it. The storage mentioned here is not the localStorage or sessionStorage API which are native HTML5 APIs supported by most browsers these days. It is a special kind of storage called chrome.storage. This API has been optimized to meet the specific storage needs of extensions in Google Chrome. You may read more about it here.
Since, I take the links as input from the user, chrome.storage is very vital for my chrome extension. Once the user saves these links, I save them in the chrome.storage and the next time he visits my extension, I use this storage to display their links.
Testing out your extension is also pretty easy. All you need is to enable Developer Mode in the Chrome extensions tab by visiting chrome://extensions. Once you are here, click on the Load Unpacked button and navigate to the folder where your source code resides.
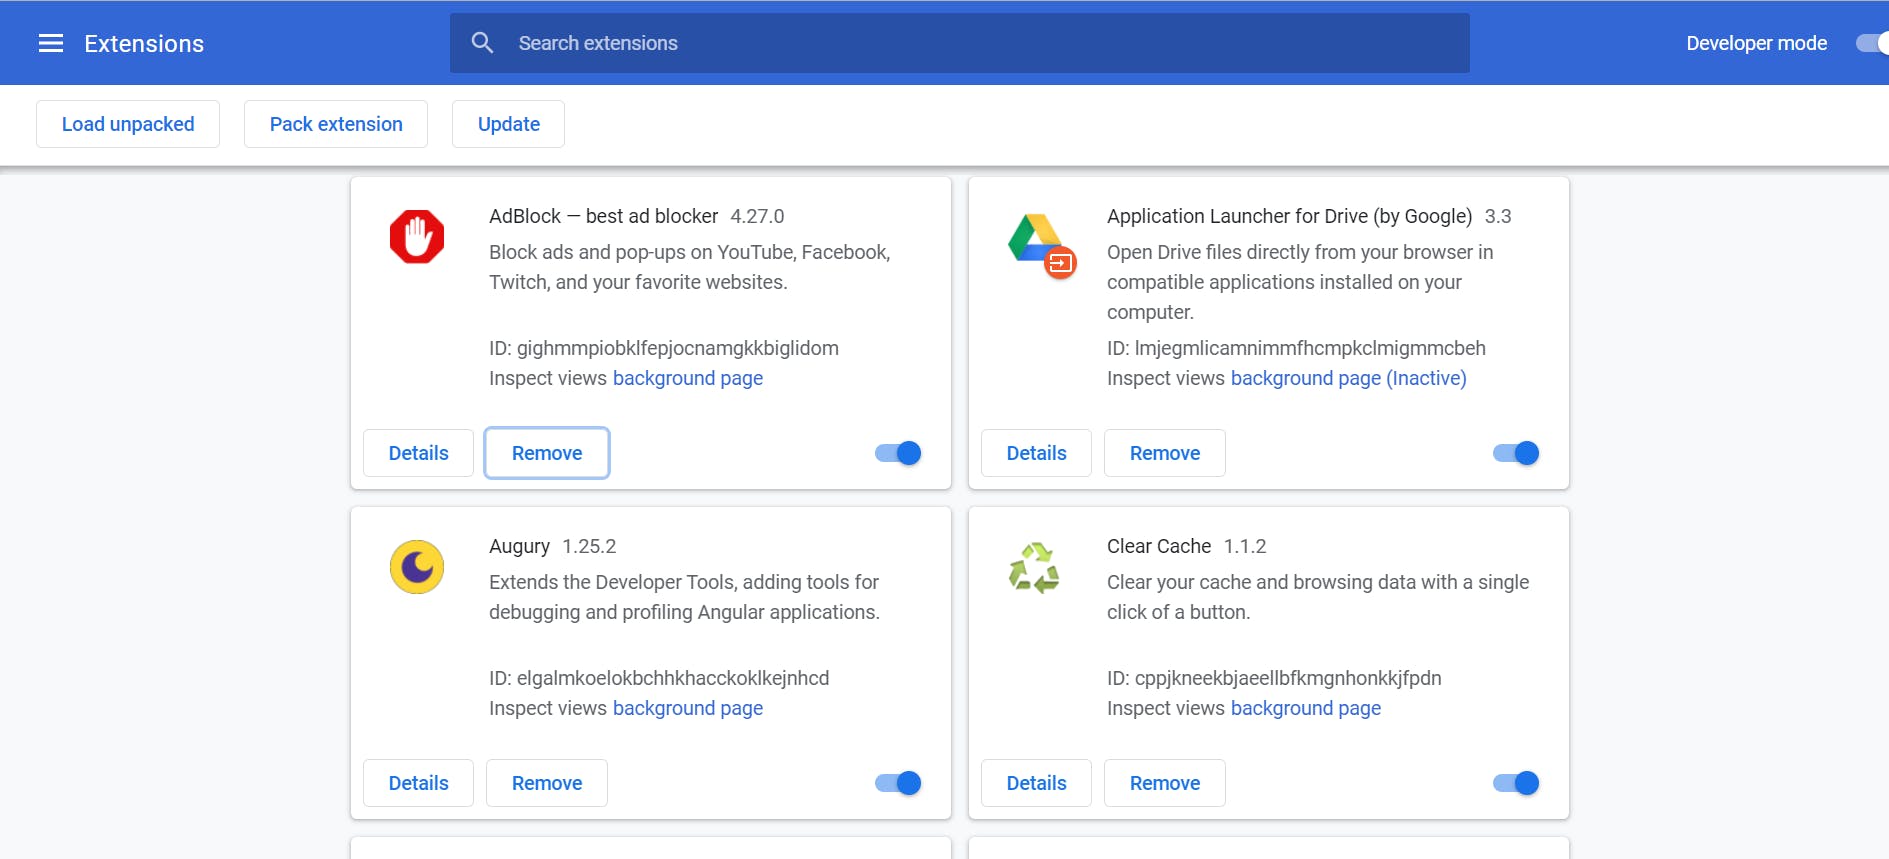
Once you load the files, your extension should start to show up in the listing, see below.
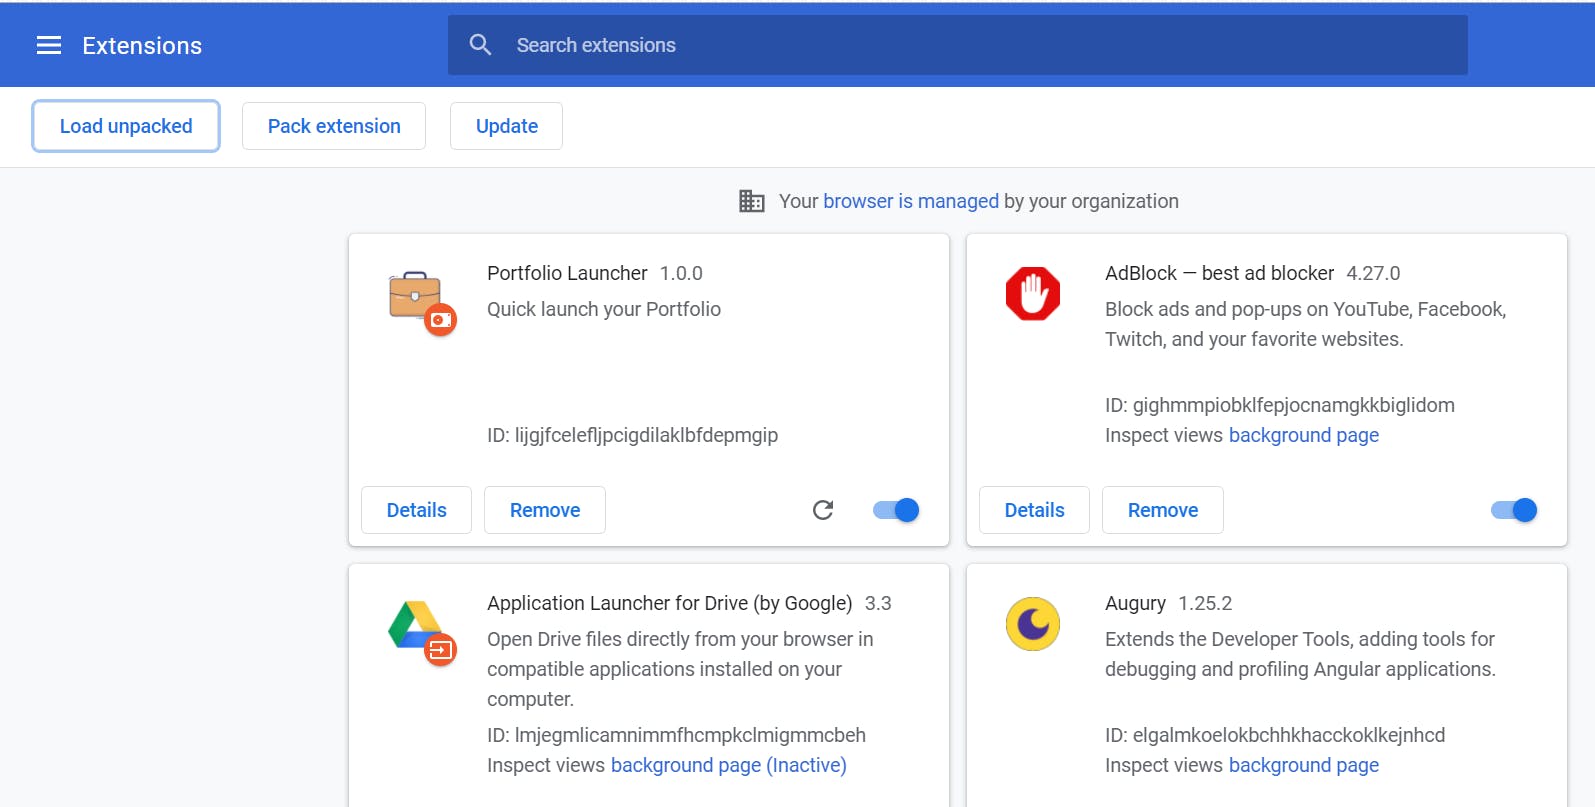
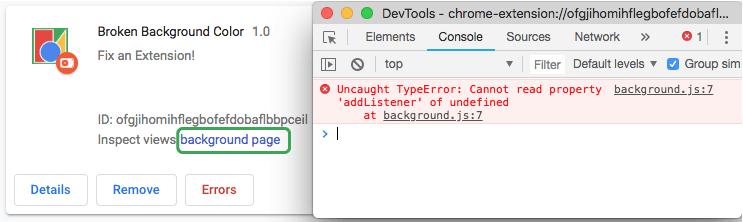
Now, open the extension by clicking your extension's icon from the menu bar. In case, something goes wrong with your Chrome extension, you can see the error logs as seen in the screenshot below -
If everything goes well, you might want to publish the extension on the Chrome Web Store. You will require a Google Developer account for it, registration for the same costs $5. For a detailed explanation, please follow this guide.
If all goes well, you too can have your own extension published on to the Chrome Web Store! I hope you liked the article. If you want to see the source code, you can see it on my Github repo. Let me know your thoughts about it. Thanks!